|
Landscape Projects
Last Updated September 22, 2011
Cathy is slowly making progress on landscaping projects:
Back Yard Native and Animal-friendly Plants [updated 7-12-11] — The larger grass area (left side as viewed from the patio) will be replaced with native and animal-friendly plants.Gravel Path [updated 9-12-11] — We're removing the gravel path that runs along the back of the yard.
Veggie Garden [updated 9-22-11] (pics from 9-15) — We replaced the smaller grass area in our back yard with raised beds for a veggie garden.
Rockery [updated 10-5-10] — The shady part of the rockery is coming along. I've been having trouble finding some of the plants that I originally planned to use, so have had some fun just getting appropriate plants and working them into the design.
Back Yard Native and Animal-friendly Plants
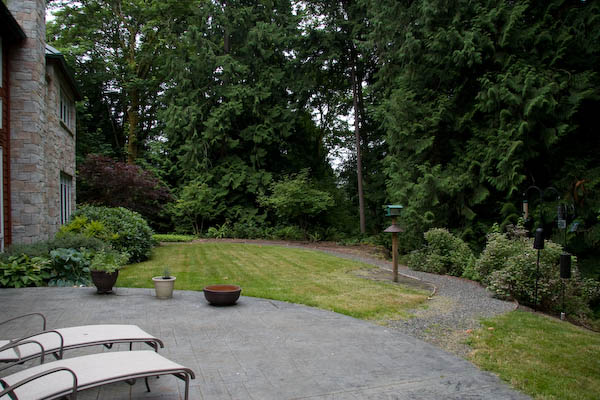
We're replacing grass with native and animal-friendly plants. The plan is to smother the grass by putting down layers of newspaper with mulch on top. By next spring, we should have lovely soil ready for planting. I'm also hoping to move some of the large plants forming a hedge along the house.
UPDATED 7/12: Here's a time-lapse animation showing the progress of mulching from start to finish.
July 7, 2011
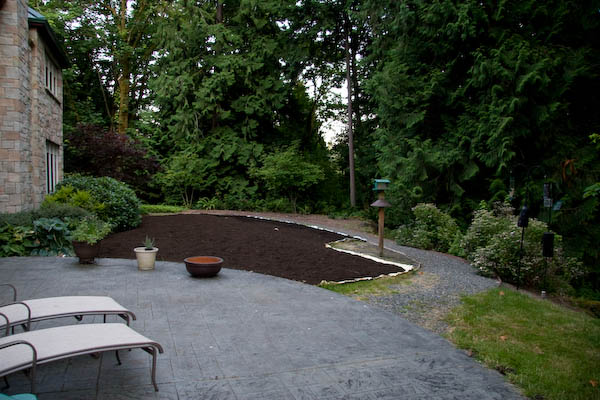
We started on the grass-to-mulch project. Here's the requisite 'before' shot:
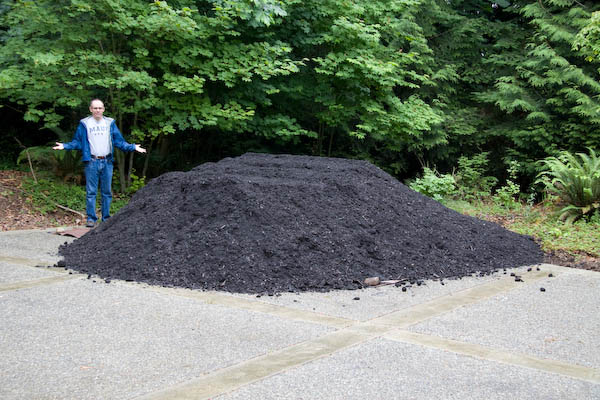
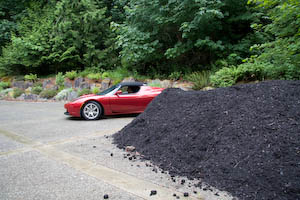
We had mulch delivered today. We ordered 10 cubic yards, but got rather more than that...
The tarp is 12' x 16'. The mulch overflowed it with just a couple corners poking
out (you can see them by Tom and under the rock along the bottom) and the pile is a good 3' tall.
Tom wonders what we're going to do with the extra 10 yards!
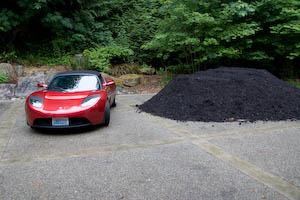
I was especially struck by the size of our mini-mountain of mulch as Tom pulled the Roadster
out of the garage:
July 7 evening
Great progress today! Tom's brother, Bill, helped by moving heaping wheelbarrows of mulch. I just barely managed to keep up papering the lawn and spreading the mulch.
At our first break (so I could rest a bit), we'd done a full strip the length of the lawn and
had mulch on a bunch of the second strip.

By the time I was worn out and ready for dinner, we'd finished covering close to two thirds of
the lawn!

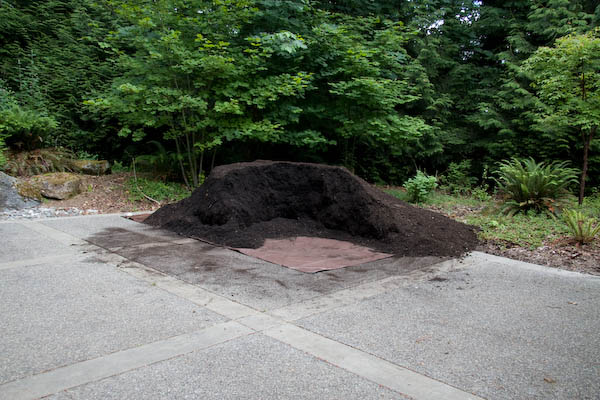
As we were heading in for the evening, I was delighted to see the mound of mulch getting under
control. Bill had managed to get the overflow off the drive (and swept!)
July 8, 2011
A little more progress today, too! Tom helped me during a couple work sessions and the mulching
is very close to done. We're out of paper, so we'll need to collect some more before finishing.
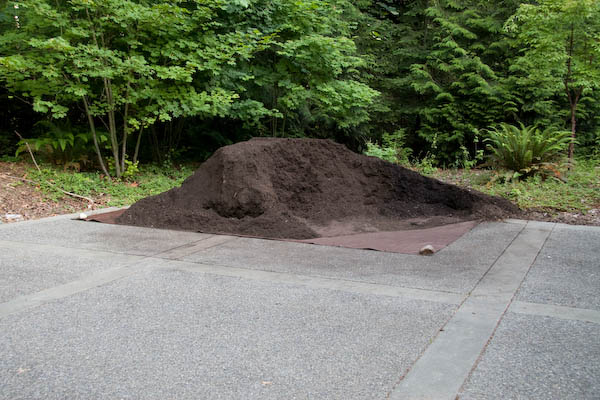
The mulch pile is slowly getting smaller, and Tom managed to get a bit more of it off the drive:
July 10, 2011
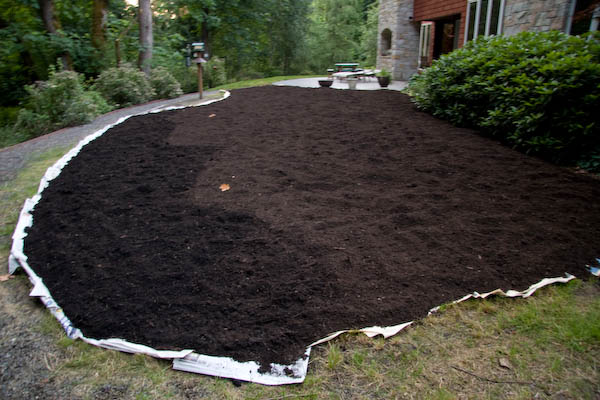
Done covering grass! We ran out of paper just as we finished the last section.
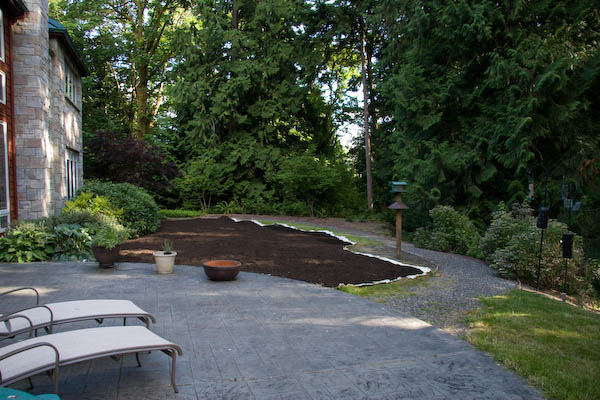
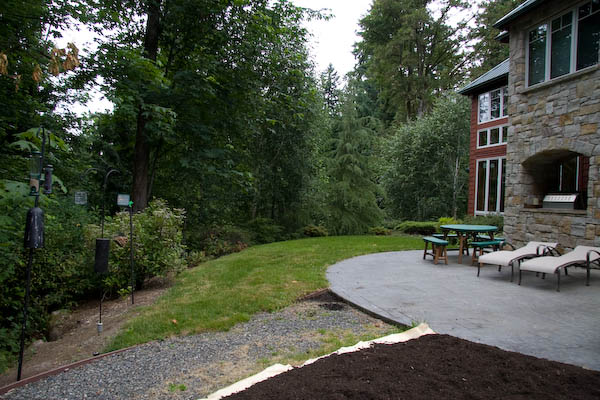
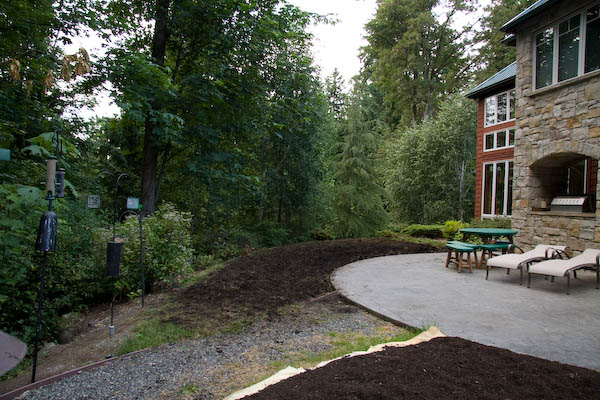
Here's the completed area from the usual angle, and also from the other side of the yard,
which shows the newly-mulched area nicely.
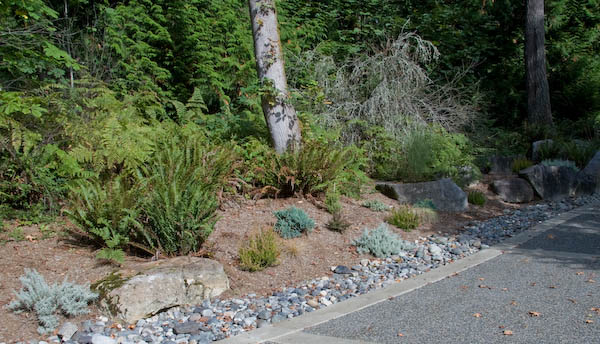
Gravel Path
We currently have a gravel path that creates an unnatural boundary line between our yard and the surrounding woods; it's also a pain to weed. We want to have our plantings blend in to the woods, so the path is going away.
We want to reuse the gravel to refresh the part of the path that's staying (by the garage), so I need to filter the gravel to separate out the dirt. Unfortunately, the weeds stay on the top side of the filter with the gravel, so the first step is to thoroughly weed the gravel path. Did I mention that weeding it is a pain?
July 13, 2011
Weeds and 'volunteer' grass removed along the right side and a start on the left side.
July 15, 2011
I was saved from doing work yesterday since it rained and sifting works much better with dirt than mud.
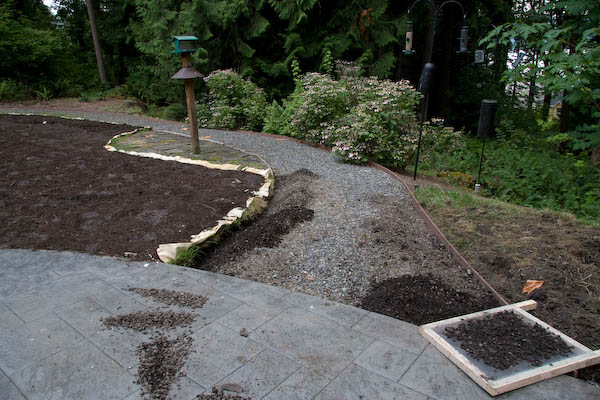
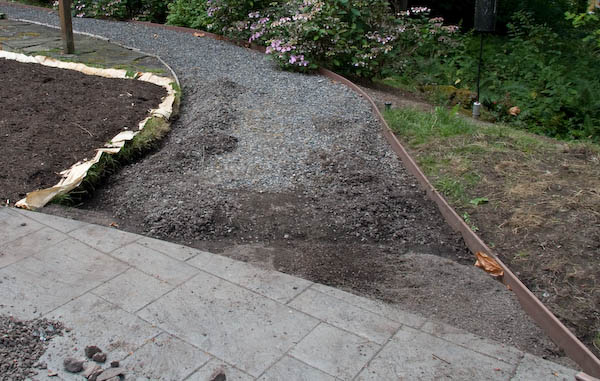
Today I got the grass removed from the left side (near the patio; there's still plenty along the
rest of the former grass area). This was especially challenging since a missing separator board meant
that the grass had grown unfettered into the gravel area. That made it hard to tell how much of the grass
I needed to remove to get all (well, most...) of the gravel. I sifted the top layer of gravel near the patio,
then loosened up a bunch of dirt/gravel (the dark mounds), which is now drying in preparation for its
turn on the sifter.
July 18, 2011
More progress today:

July 20, 2011
Making good progress, but only a little time on the path today; most of the effort was on the
veggie garden area. In this picture, the mound near the patio on the right side is all filtered
dirt.
July 30, 2011
Work on the gravel path is going more quickly now that the weather has been dry and I've got
enough cleared to provide a convenient work area. I've filtered gravel a couple of times since
the last photo and made nice progress today, about a foot and a half in an hour.
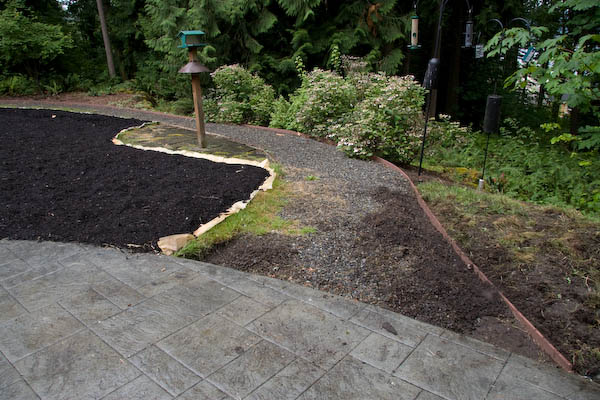
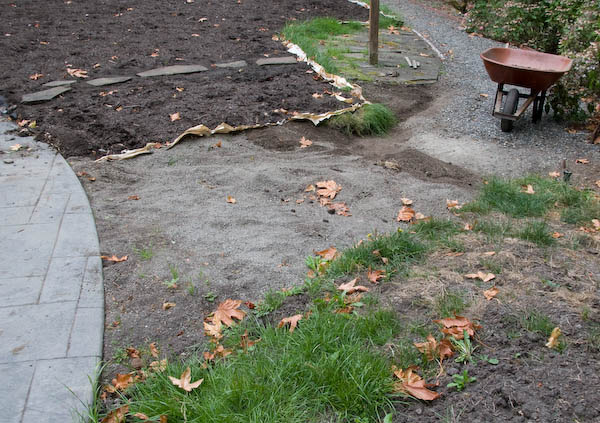
September 12, 2011
I'm slowly making progress on the gravel path. Today I got some of the slate stones
up from around the feeder. They are now providing a path from the patio since the old
path is going away. It's temporary until the final landscaping is done and there are
permanent walkways. The remaining slate around the feeder may or may not stay; we're
still deciding.
Veggie Garden
We'll be converting from grass to raised beds for Square Foot Gardening.
July 12, 2011
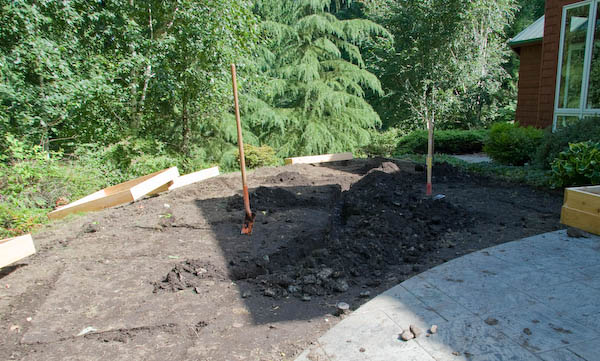
The 'before' picture:
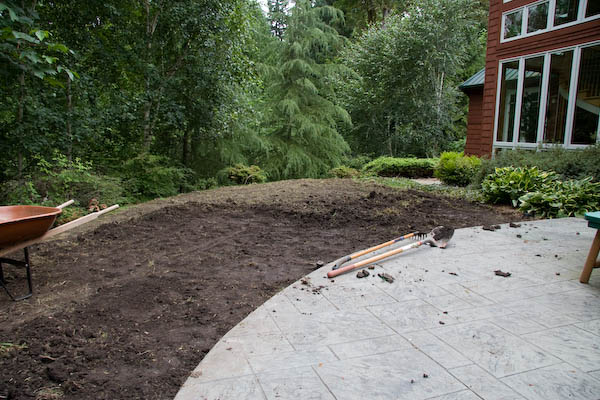
After roto-tilling. This picture is deceptive; it looks like the area is nice and smooth,
but it's actually very uneven, including some mounds over a foot tall.
Next up, I'll rake it flat, place boxes to determine the layout, have irrigation updated for the boxes, then cover with weed barrier, install the boxes, fill with soil, and put bark between the boxes. Then I can plant veggies!
July 20, 2011
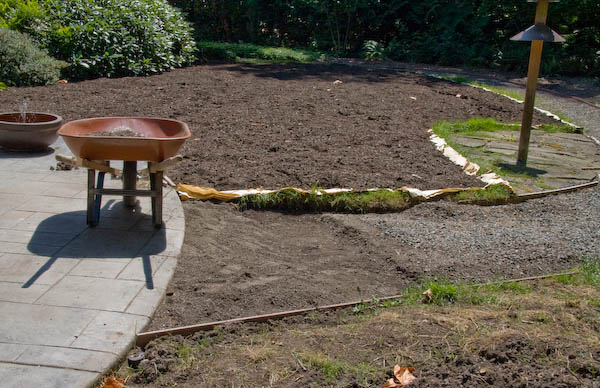
So, raking it flat turns out to be easier to type than to do! Whew, that's a lot of work. It also involved filling the wheelbarrow countless times to haul excess dirt away from the area (it'll be used to fill in along the path once the gravel is removed).
Work this morning, before lunch (which Tom made and cleaned up; thanks honey!)
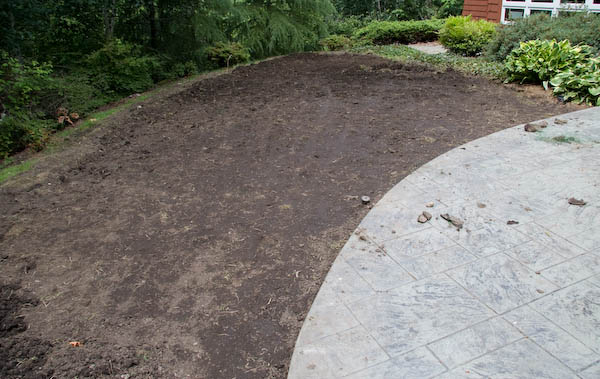
After working this afternoon, the area is almost smoothed, just a small mound remaining (near the
back right in this photo).
July 21, 2011
When we went out this evening to finish smoothing, we found that a mole had been tunneling
through the area. The last mound of dirt to move is in the foreground, a little to the right of
center.

July 22, 2011
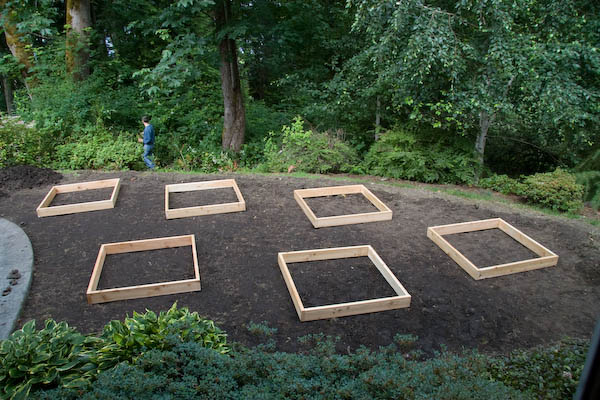
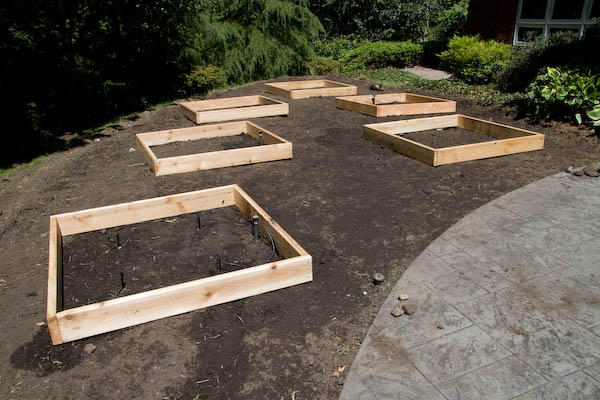
Tom and I assembled the boxes yesterday evening and this morning, then placed them in a nice
layout. You can see part of the mound of excess dirt on the left side of the photo, near
the top.
We've got an irrigation company taking care of digging and running the irrigation lines.
Here are the boxes back in place with the irrigation installed. The closest box shows the four
small sprayers that will be in each box. You can see the riser / distribution point in the
other boxes.
July 28, 2011
Bill came back and helped again. We got paper and mulch down around part of the perimeter; this
area (formerly lawn) is outside the space that I need for the veggie boxes and will eventually get native plants.
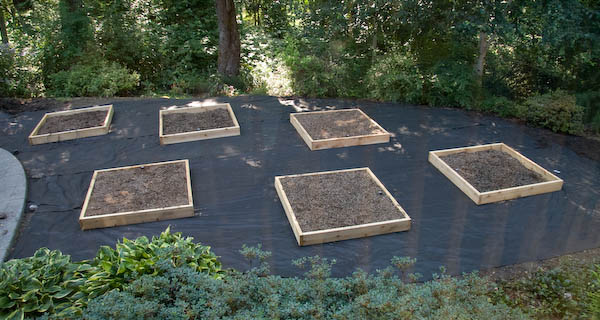
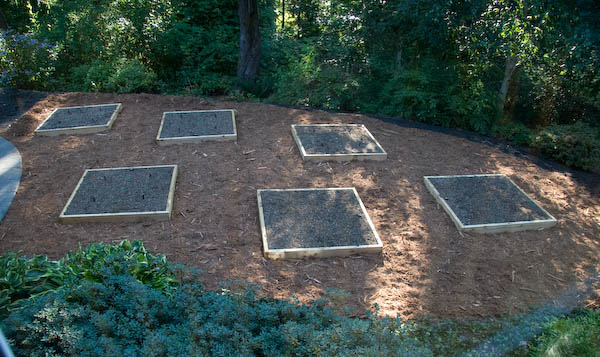
Then we put down weed barrier, placed the boxes, mixed up soil (peat moss, compost, and vermiculite),
and put it in the boxes. Three are essentially full, and the other three still need to be finished off.
July 29, 2011
Tom helped me mix up the last batch of soil and distribute it to the boxes. We need just a little
more, mainly in the right-most box, but I'm also thinking that I'll add a bit more to each of the
boxes. Plus it'll be nice to have some extra for starting seeds inside.
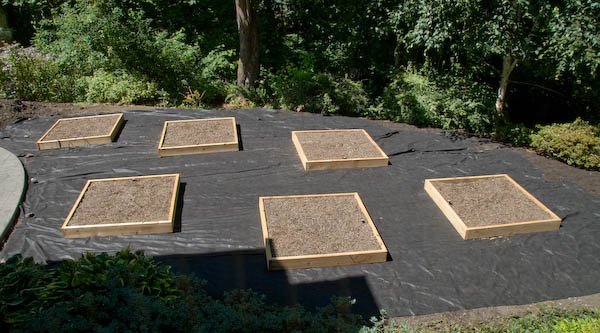
The last bit of work (other than finishing up the soil) is to put bark down around the boxes; looks like we'll be able to do that Tuesday.
August 2, 2011
Bill borrowed Daniene's truck and we picked up a load of "hog fuel" to spread between the boxes. Hog fuel is shredded cedar, apparently so-named because it's shredded with a "hogger" and the product can be burned to produce energy. Despite the funny name, it's a great material for paths and walkways.
As usual, Bill carted in wheelbarrow loads of stuff and I spread it out. We were delighted to find out that the one truckload was sufficient for the area I wanted to cover.
That evening, after Tom chased away the bear,
I took the following photo:
August 9, 2011
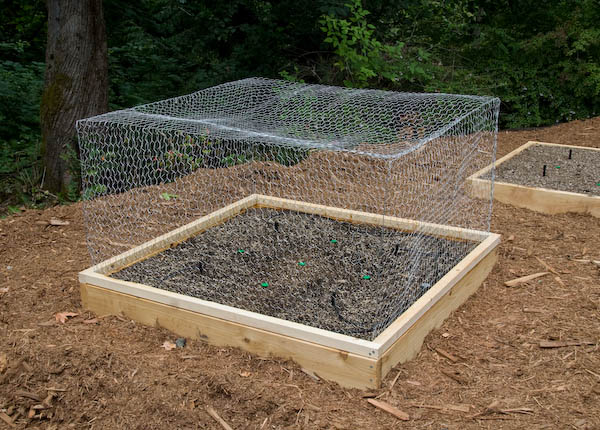
Tom helped me build a chicken-wire cage, which is now on one of the boxes. We planted
a variety of veggies (can you tell?!) which should remain safe from birds, bunnies, and deer.
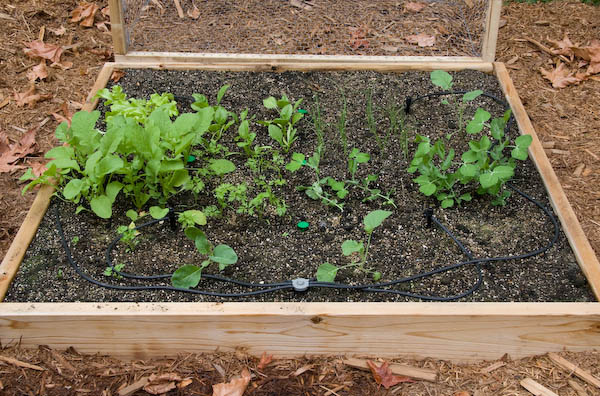
September 12, 2011
We've got veggies growing! Not quite ready to harvest, but still exciting! We've got
lettuce, spinach, scallions, radishes, carrots, peas, parsley, broccoli, and cauliflower.
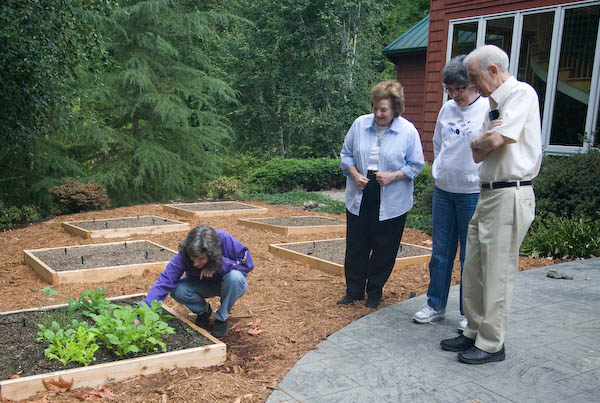
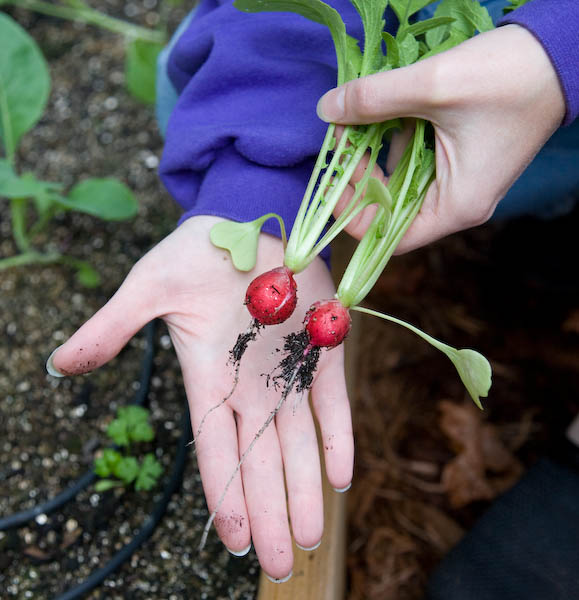
September 15, 2011
Our first harvest! We pulled a couple radishes for salads this evening.
Our parents joined us for the momentous occasion.
Rockery
October 5, 2010
My first project was the rockery along the back of our driveway. I did this a couple years ago; just getting around to pictures now.
Pictures of plants in the 'sunny' sections:
Rockery near the garage; there are a bunch of herbs in this section
(thyme, sage, rosemary, chives, bay, lavender).
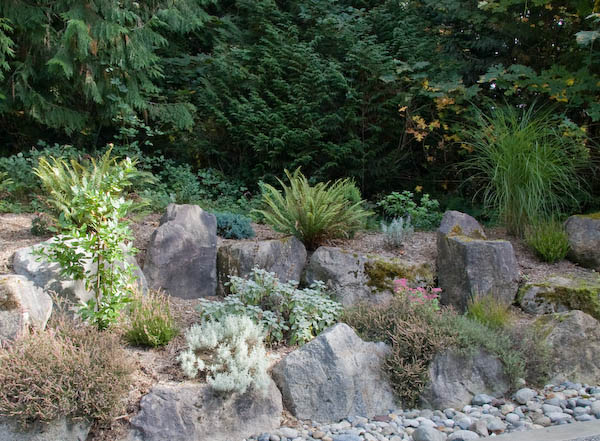
The other side of the rockery:
The current project is the 'shady' part of the rockery. The plan is done and about 1/4 of the plants are now planted.
Next spring part of the back lawn will become a veggie garden. We're hoping to get as much food from it as the wildlife...
|
©1996-2026 Tom and Cathy Saxton. You may not copy or reproduce any content from this site without our consent.